NetSuite provides us an ability to create sublist of different types. Its also gives us a way to show a saved search result as sublist view. In this article I’ll show you how to display the result of saved search of type Custom Record as sublist in Customer record.
Here I’ll create a custom record type, assuming that it maintains custom history of customer’s field change data using user event.

Custom Record Type:
- Enter the name for Name. E.g. Customer History
- Uncheck Include Name Field field
- Saved
- Add fields:
- Customer
- Record Type
- Field Id
- Old Value
- New Value
- Set permissions according to your needs.
I assume that history records has already been created.
Now I’ll create a saved search.

Create a Saved Search:
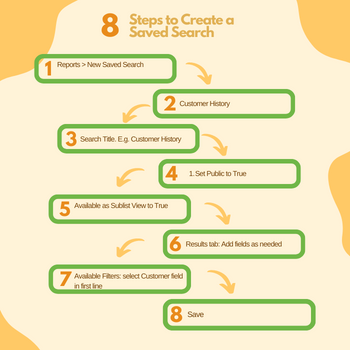
- Navigate to Reports > New Saved Search
- Click on Customer History record as created above.
- Enter the name for Search Title. E.g. Customer History
- Set Public to True
- Set Available as Sublist View to True
- In Results tab add fields as needed
- In Available Filters tab, select Customer field in first line. It is a field on which the records will be displayed. (Customer in our case)
- Save the search
Finally to show saved search result as sublist:

Create a Sublist in NetSuite
- Navigate to Customization > Forms > Sublists
- Select the tab corresponding to the type of record where the search will show as a sublist. For this example Customer.
- Click the Entity tab.
- Select the name of the search created above in Search column. E.g. Customer History
- Enter a name for the Label column. E.g. Customer History Sublist
- Select the name of the tab where you want to display this sublist under the Tab column. E.g. General
- Put a checkmark for the Customer column.
- Click Save.
If you have a NetSuite Customization requirement you would like to discuss, or would like to know more about our NetSuite Customization services, please get in touch with us